
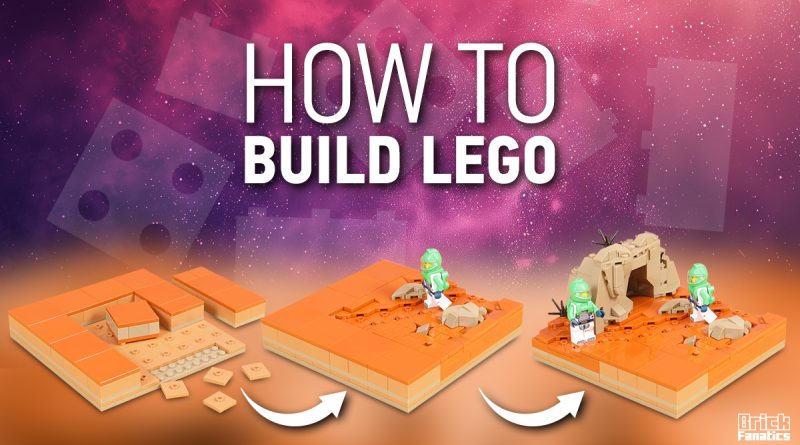
How to build LEGO space terrain: part I
Create a new alien world for the 2024 range of LEGO City and LEGO Friends Space sets to explore by discovering a new and flexible build technique.
The return of LEGO Space in 2024 across multiple themes and in particular City has offered a fantastic and genuinely creative selection of interstellar-themed sets. From mini mechs and interplanetary ships to rovers and even living quarters both on planet and in space, this collection of sets has offered unrivalled variety and some of the best space-themed play experiences from the LEGO Group in a good number of years. Check out our reviews for any of the January wave to understand exactly why we recommend these sets so highly and describe them as close to perfect.


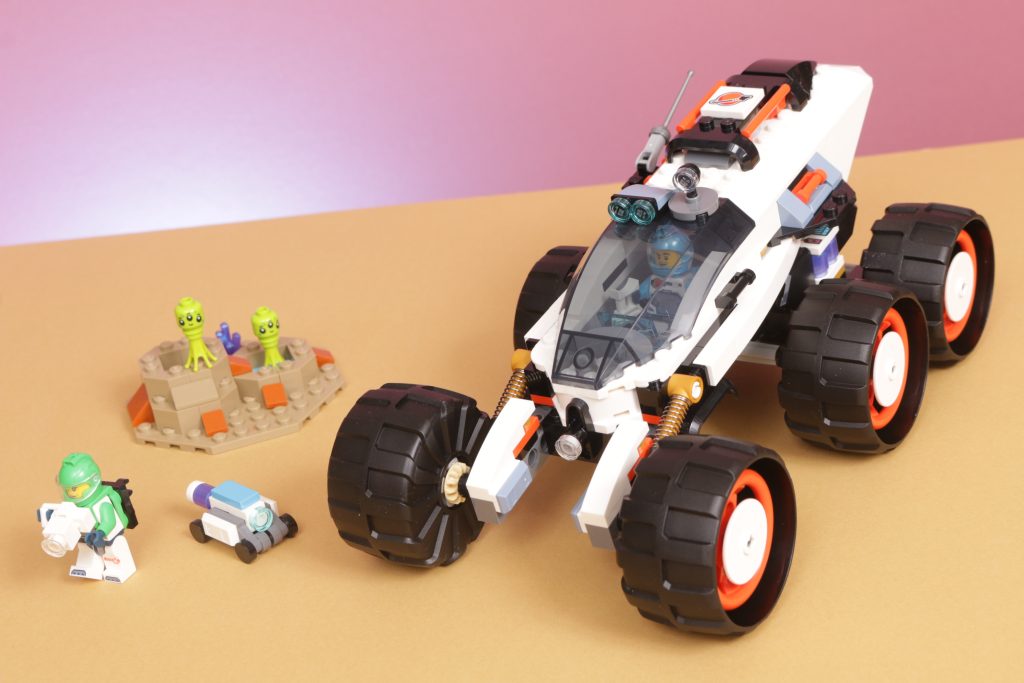
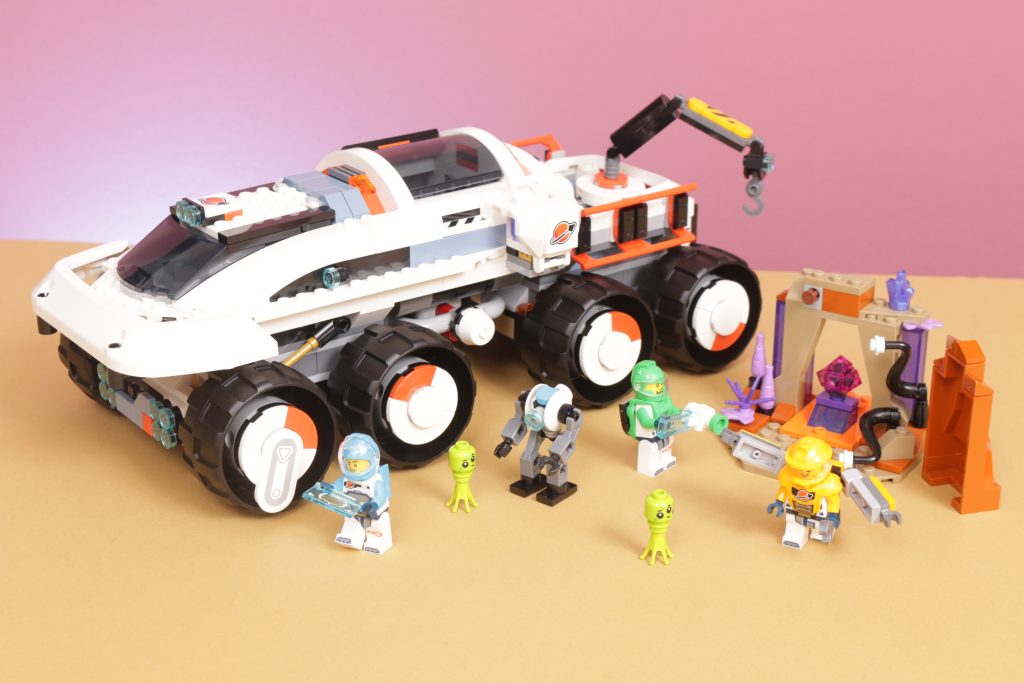


Close to perfect isn’t perfect, though, and there has been one area that the City (and Friends) Space sets have only slightly been able to deliver on, if at all – the alien planet or planets that they are exploring. We’ve seen snippets of a harsh, orange, rocky surface in the likes of 60431 Space Explorer Rover and Alien Life and 60432 Command Rover and Crane Loader, but nothing substantial enough to stand up as real space terrain, and certainly nothing able to contribute to the story at play in these otherwise fantastic sets.
So, when the LEGO Group invited us to take part in a program to showcase the excellent parts selection available through its online Pick a Brick service by putting together our own custom LEGO build, we knew we had to revisit these City sets and build our space explorers some alien terrain.
Part I – Concept
For this particular build project we want to explore story opportunities to expand upon the City Space sets, but also do so in a build approach that is easy to understand and with potential to take in any number of directions. So, we have chosen to showcase our ideas for this space terrain in a modular approach.
Similar to the MILS (Modular Integrated Landscaping System) approach that an increasing number of public LEGO builders use to plan out large-scale models and modular cities, this format compartmentalises larger aspects to a build into a manageable and scalable section-by-section approach.
We will introduce and demonstrate our version of this process in part I, before exploring how to use it to expand the LEGO City Space story in part II.
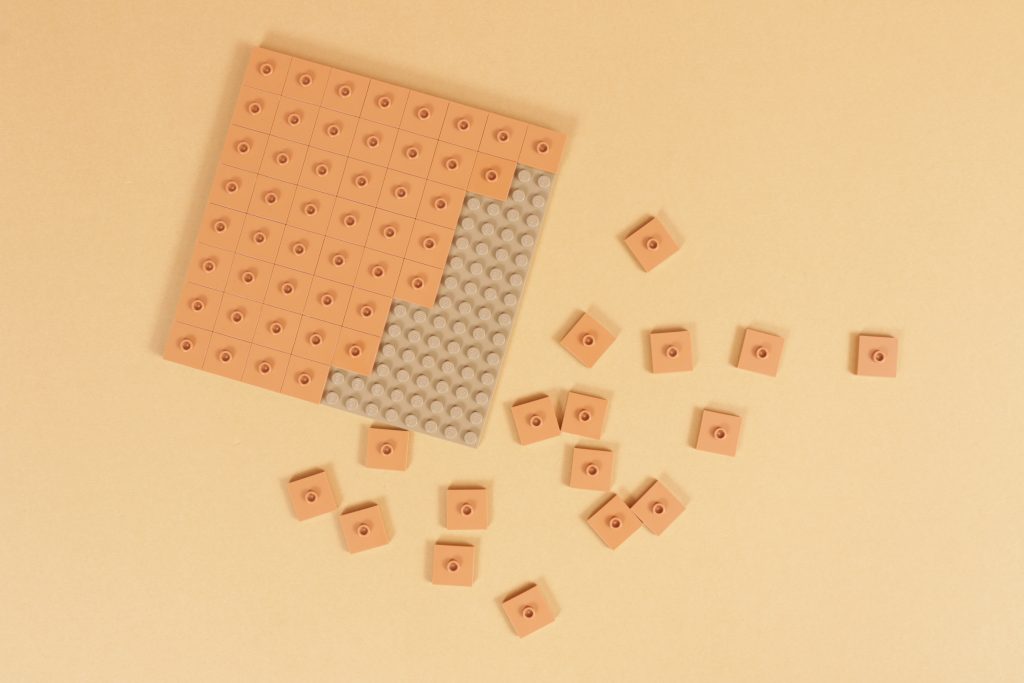
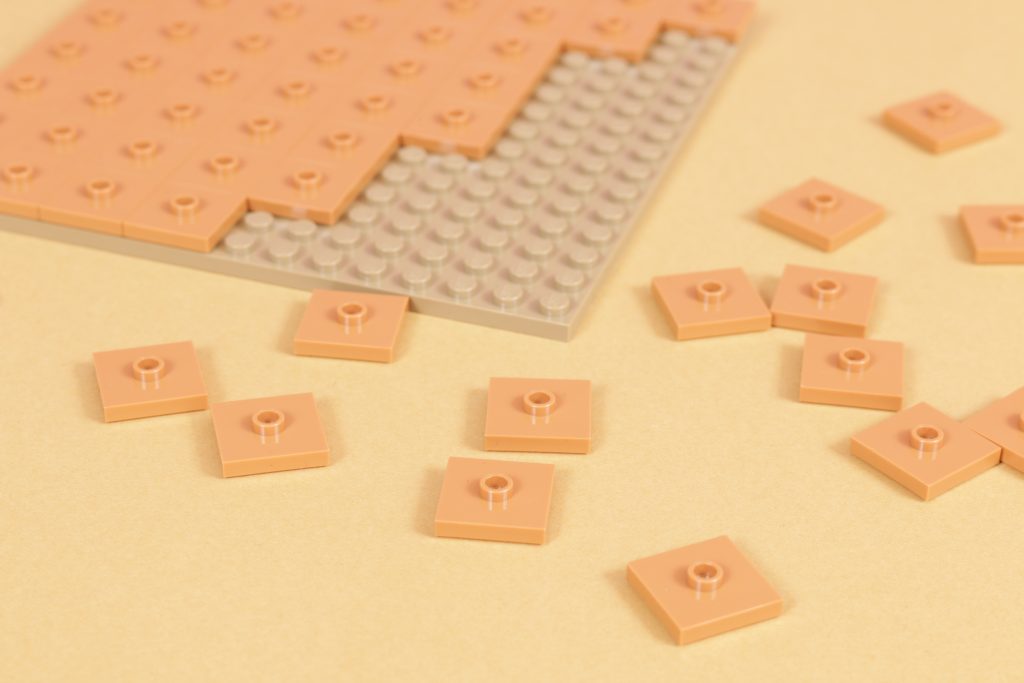
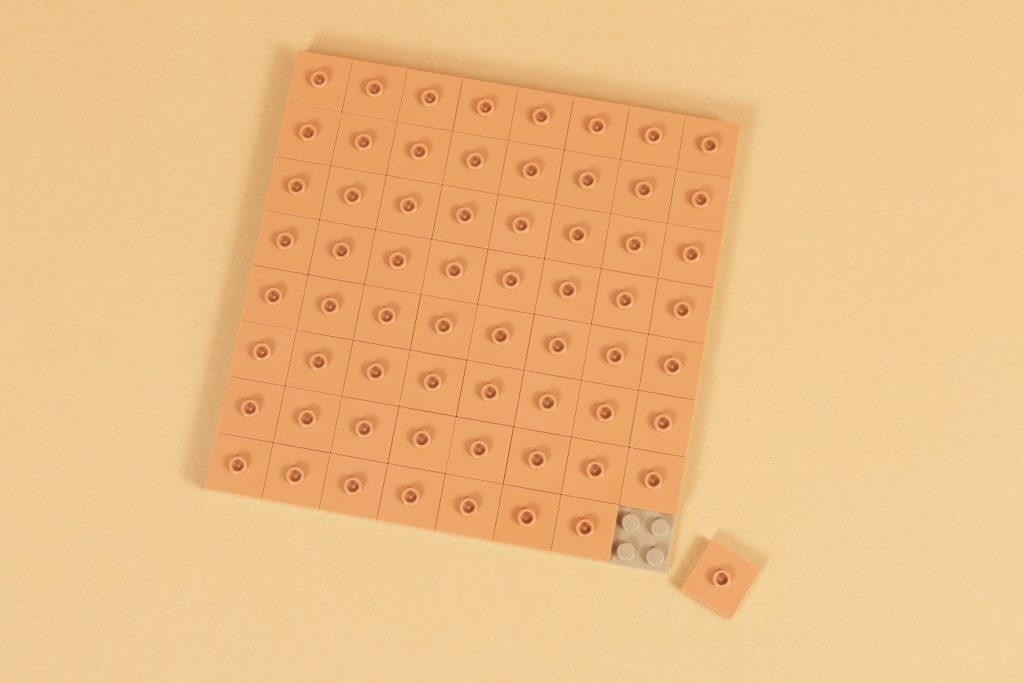
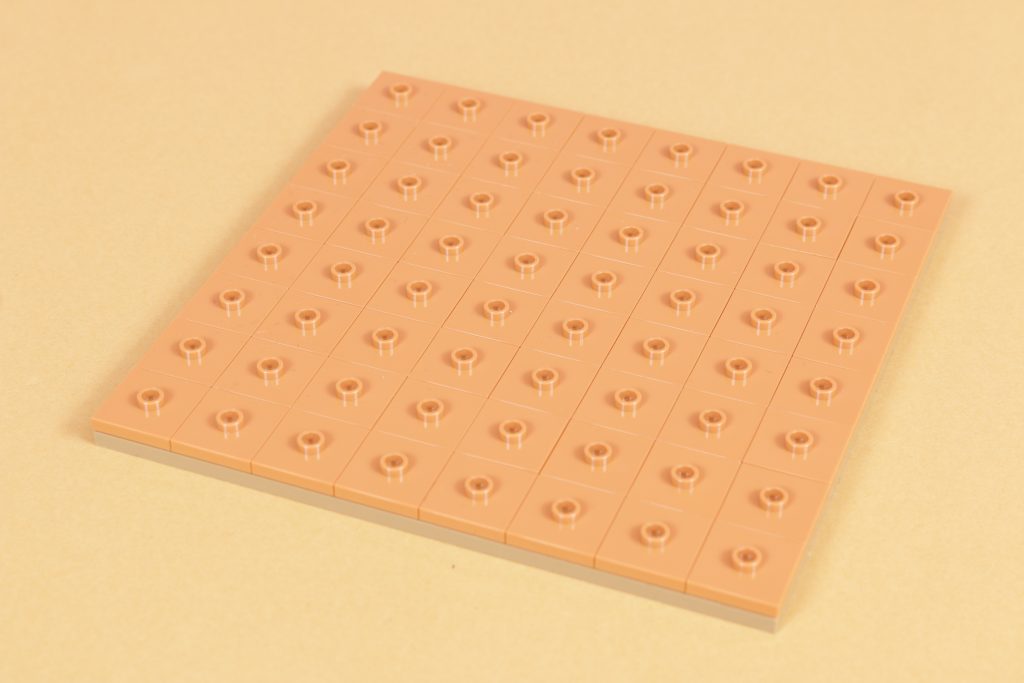
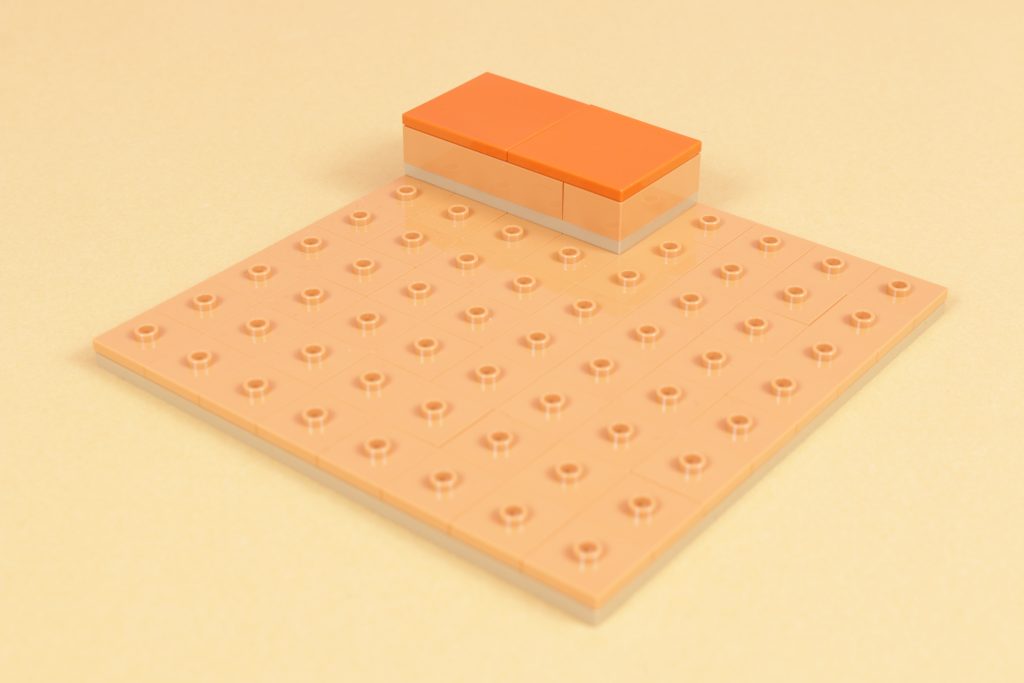
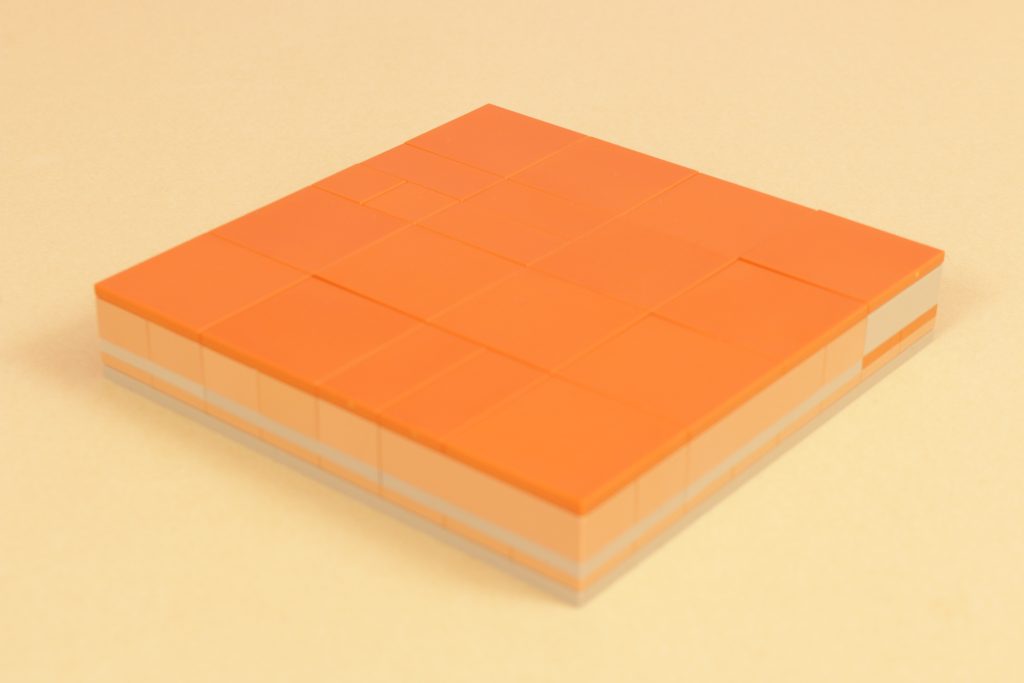
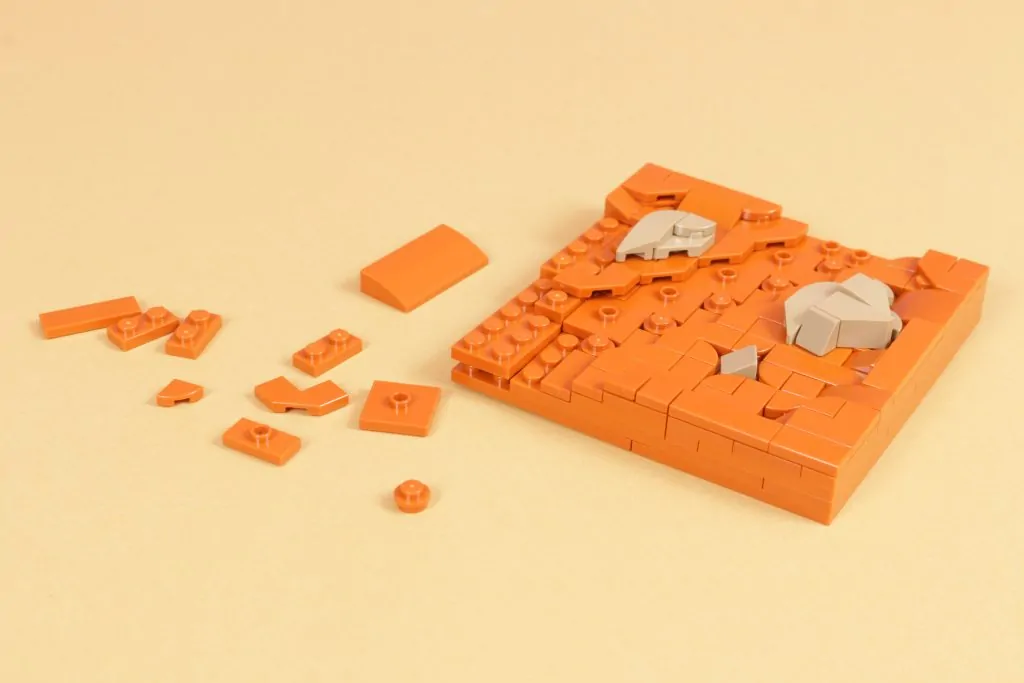
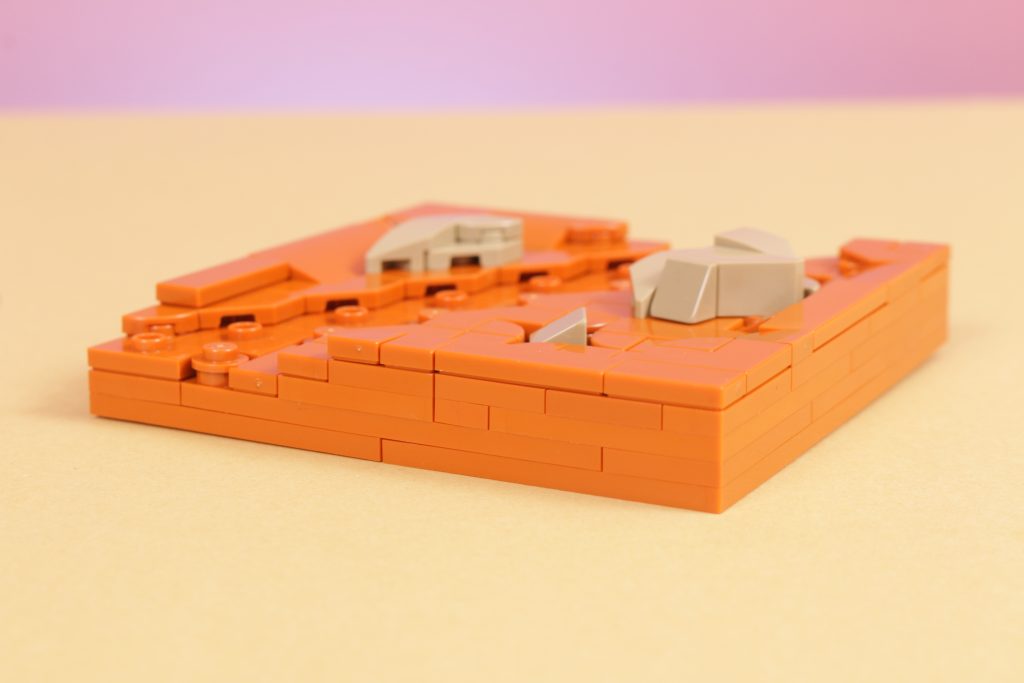
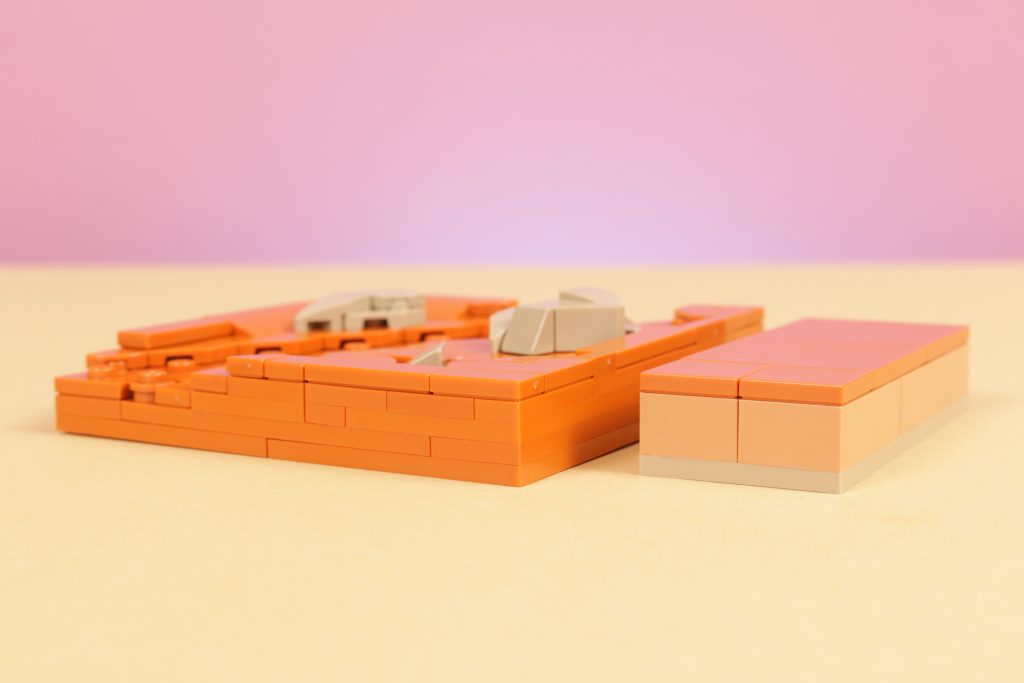
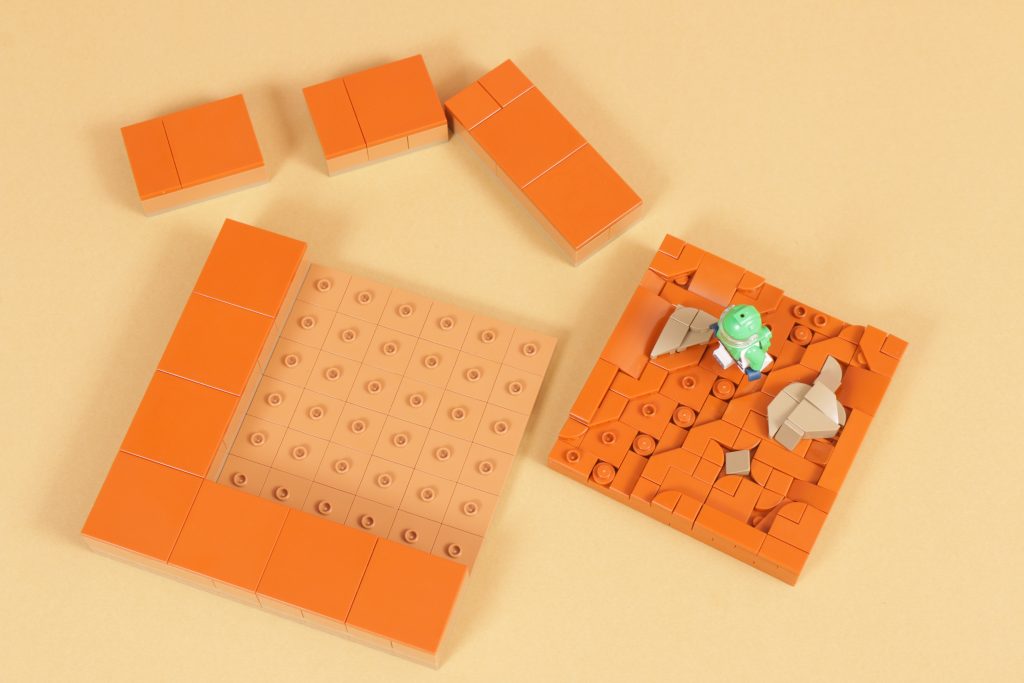
Our modular approach is aimed at creating a section of terrain out of larger blocks that can then be individually customised, swapped out and moved around so as to create a fully flexible and changeable landscape to suit both budget and when new ideas come to mind (no custom LEGO build is ever really finished…). To do this we have settled on a building technique that begins with a simple baseplate covered corner to corner in 2×2 jumper plates.
A reminder: Apart from items used from select LEGO City Space sets, all the pieces featured in this guide are available at Pick a Brick. Note that specific colour availability may vary.
This baseplate covered in 2×2 jumpers creates an easier-to-customise base for our larger blocks of terrain to sit on and move around within – there’s still enough clutch power to hold anything we place on this base in place, but not too much to lock anything down too tightly. You’re going to want to move around portions of land and this design allows as much.
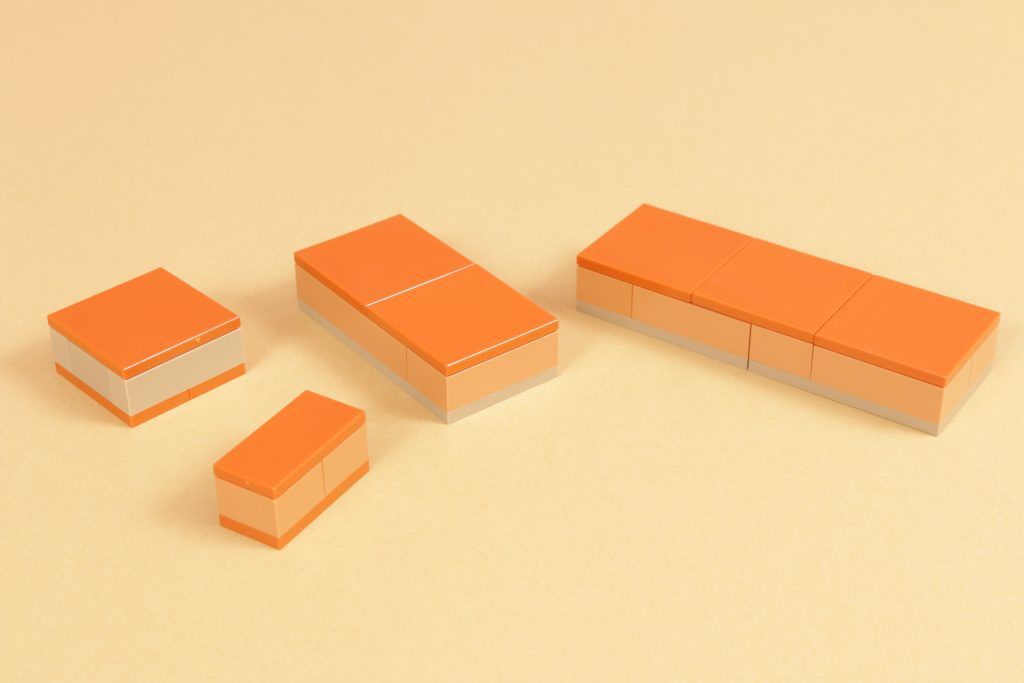
The ‘blocks’ of terrain that sit on this style of baseplate are built in three initial layers of a plate on the bottom, a brick in the middle and a tile on top. The width and length of these blocks is variable, but needs to be at least two studs wide, with widths and lengths that are multiples of two so as to attach to the 2×2 jumpers on our baseplate. A 1×8 block built will not attach to the base, nor will a 3×3 block. But anything like a 2×2, 4×6, 8×16, and even a 16×16 will attach to the base.
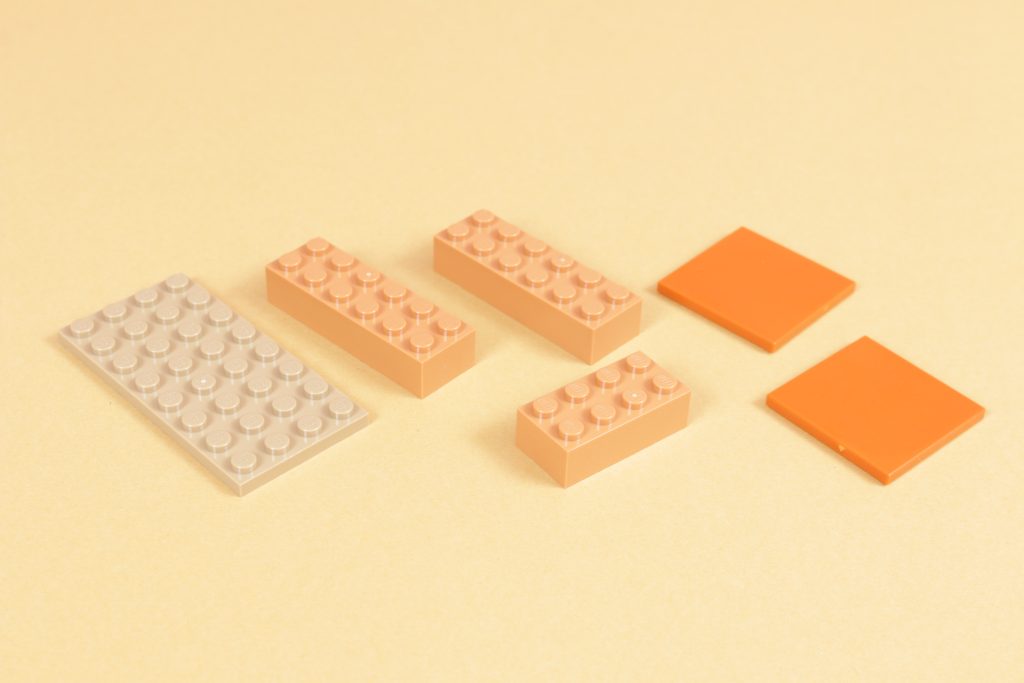
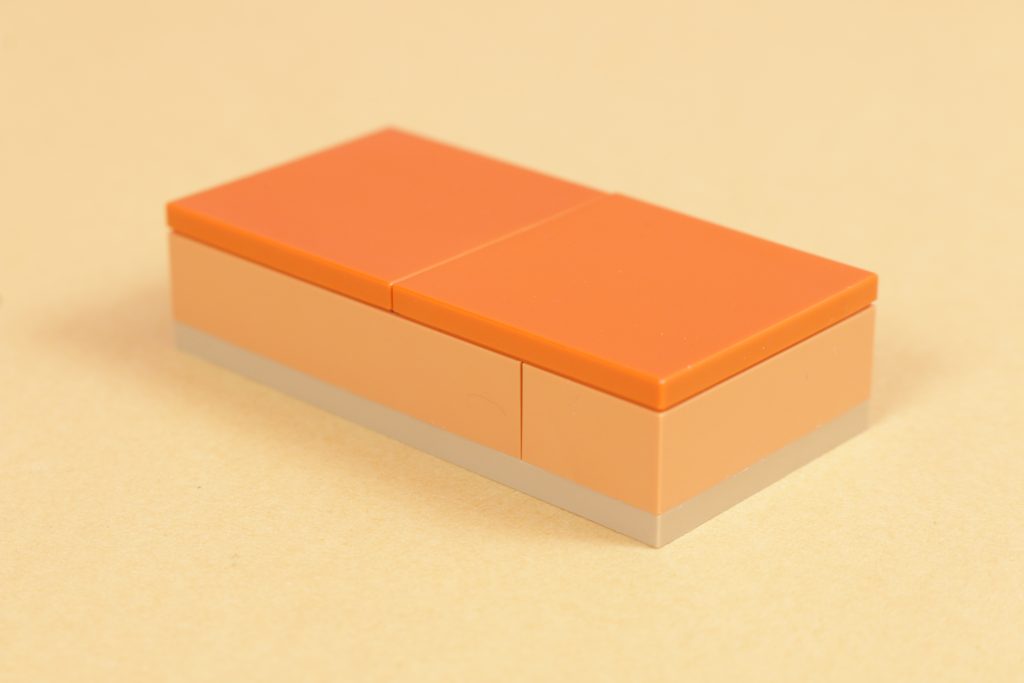
These blocks form the final layer of the terrain we are constructing and the top of the plate will serve as our new ground level from which to start everything. Whatever changes to any block you work on, that is the guide for all blocks to sit at the same height.
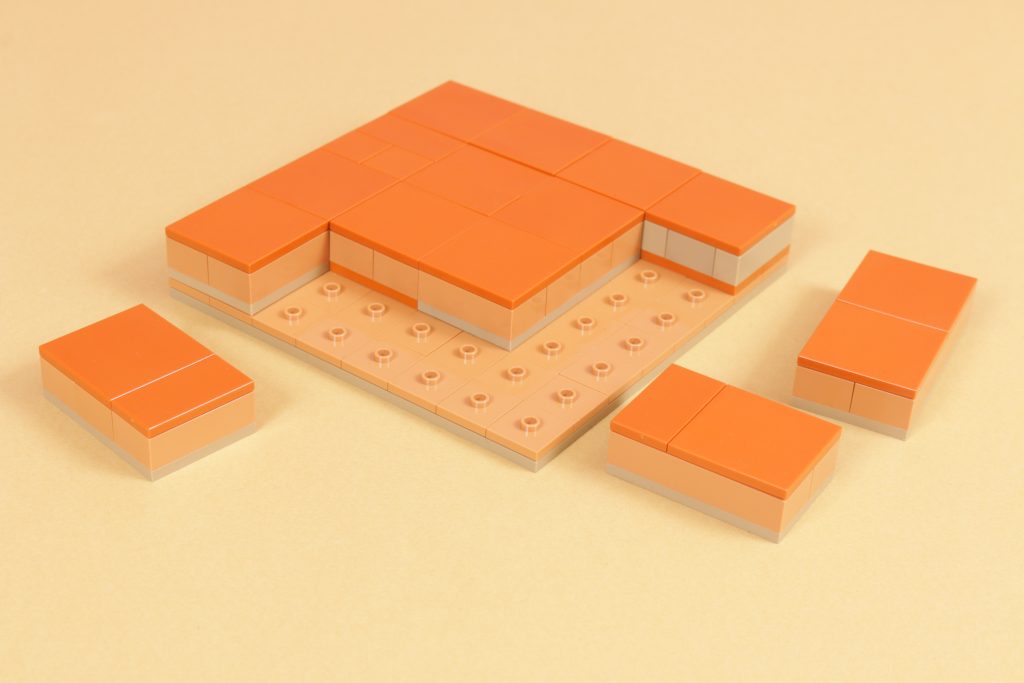
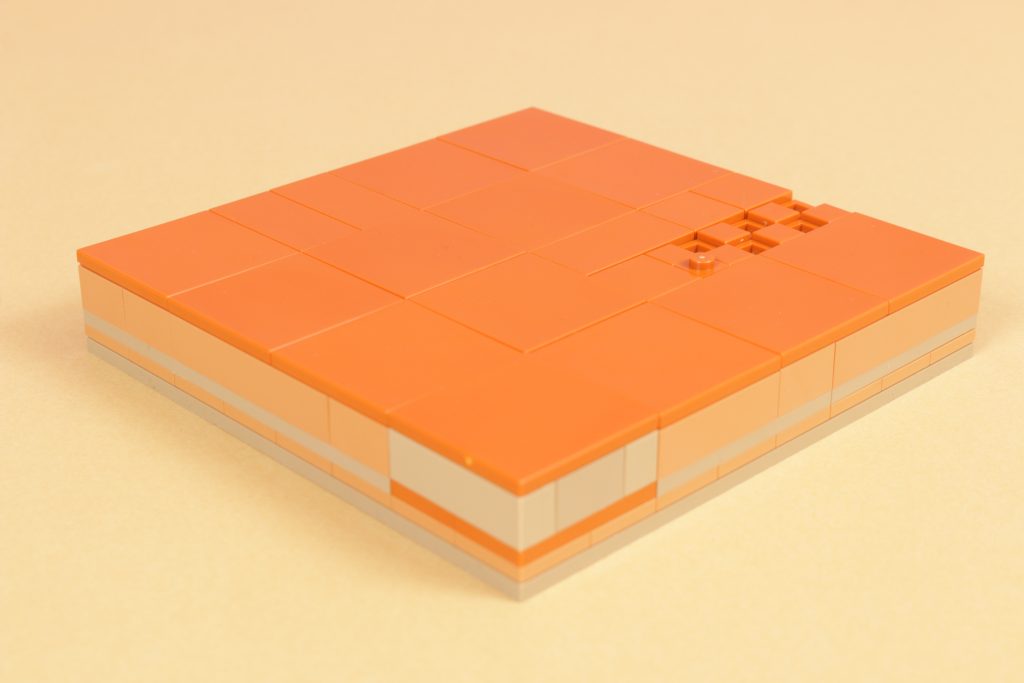
If all we build is these blocks in this exact style of plate-brick-tile then we will end up with the beginnings of a perfectly flat desert-style landscape of untouched sand for our LEGO space explorers to walk across for the first time. It is easy to put together and has the scalability to look quite pretty at a grander size, but this modular build approach can do a lot more.


Key parts
| Image | Element name | Element number | Link |
|---|---|---|---|
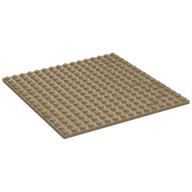 | PLATE 16X16 | 4613196/91405 | Add to cart |
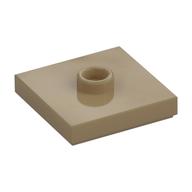 | PLATE 2X2 W 1 KNOB | 6126075/23893 | Add to cart |
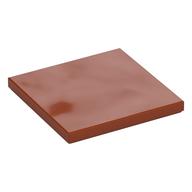 | TILE 4X4 | 6408240/1751 | Add to cart |
First steps
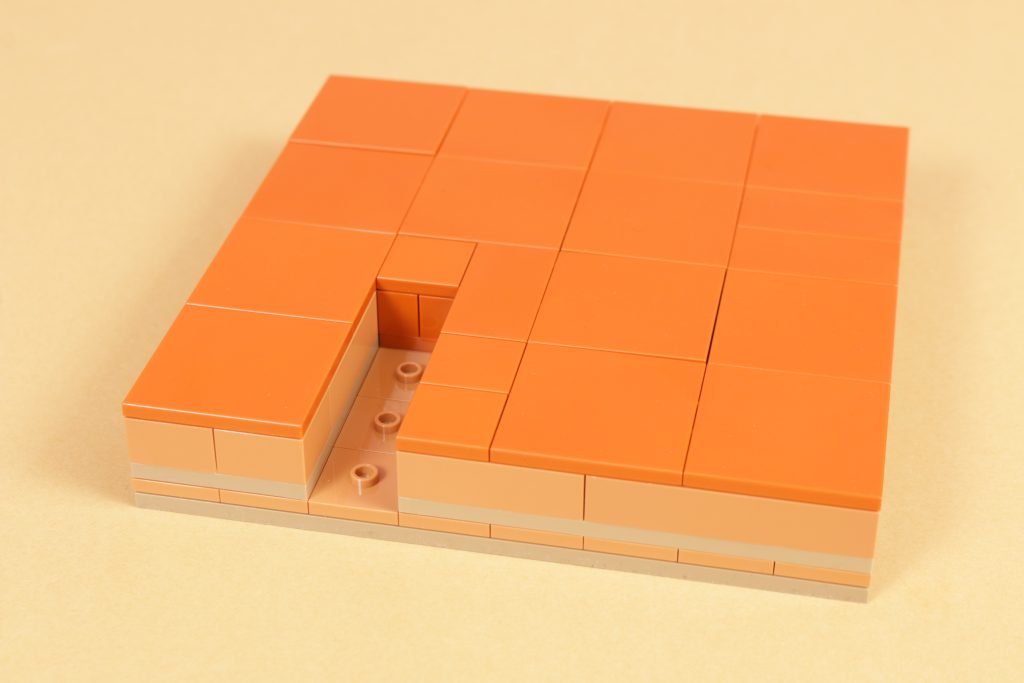
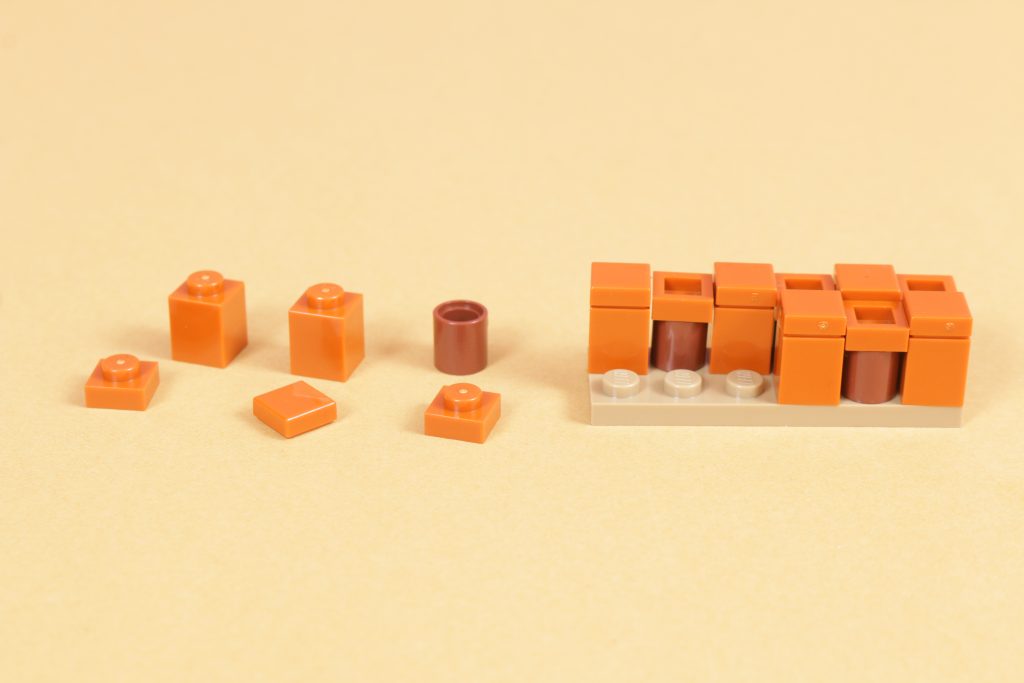
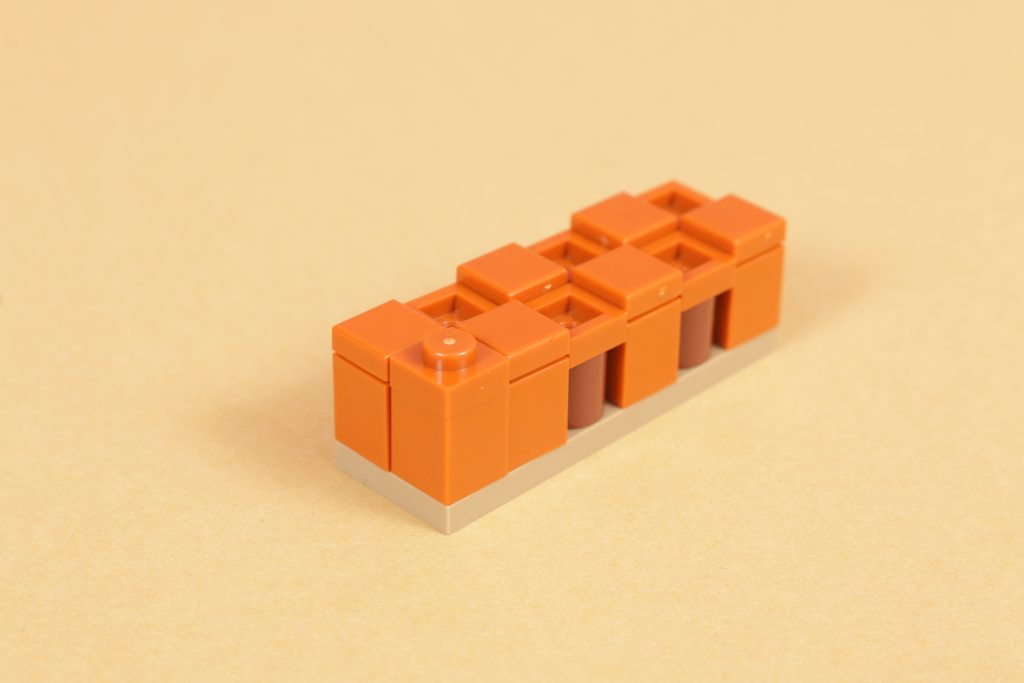
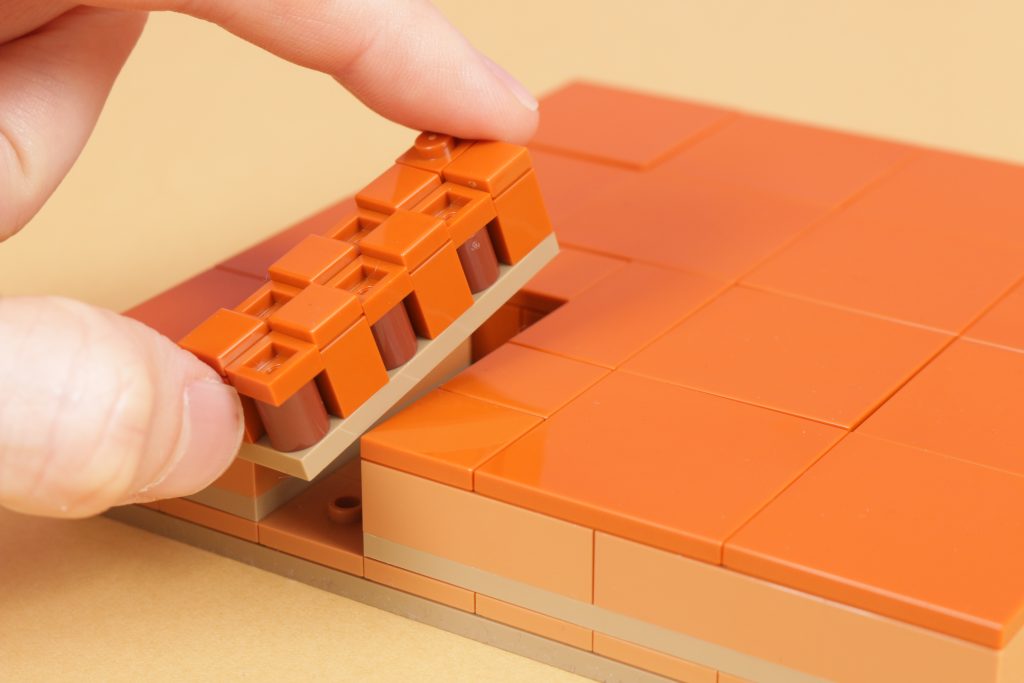
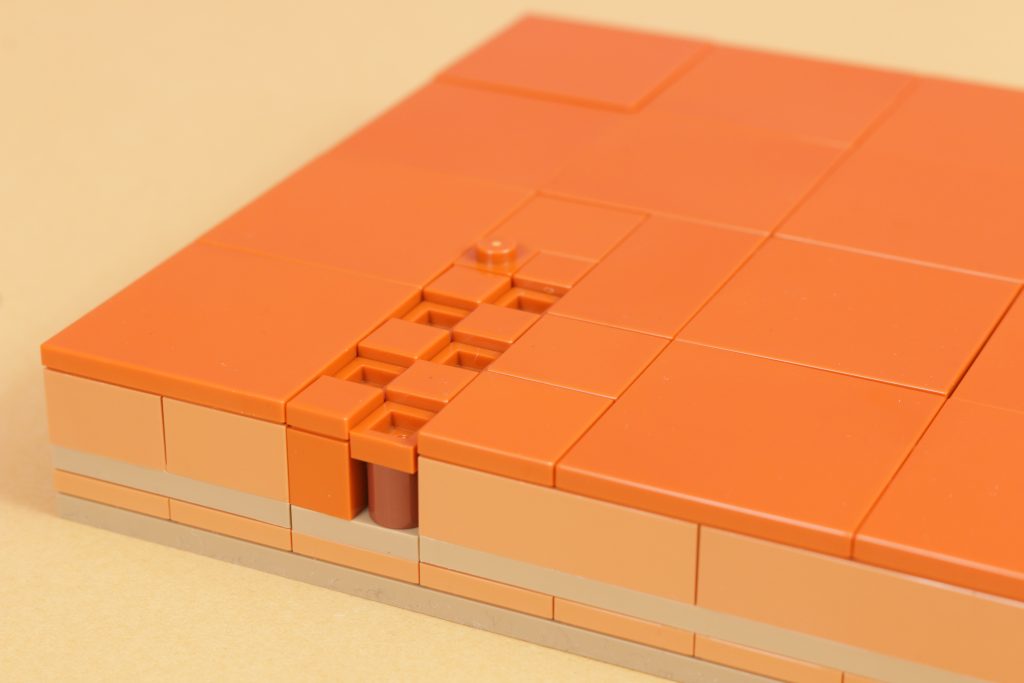
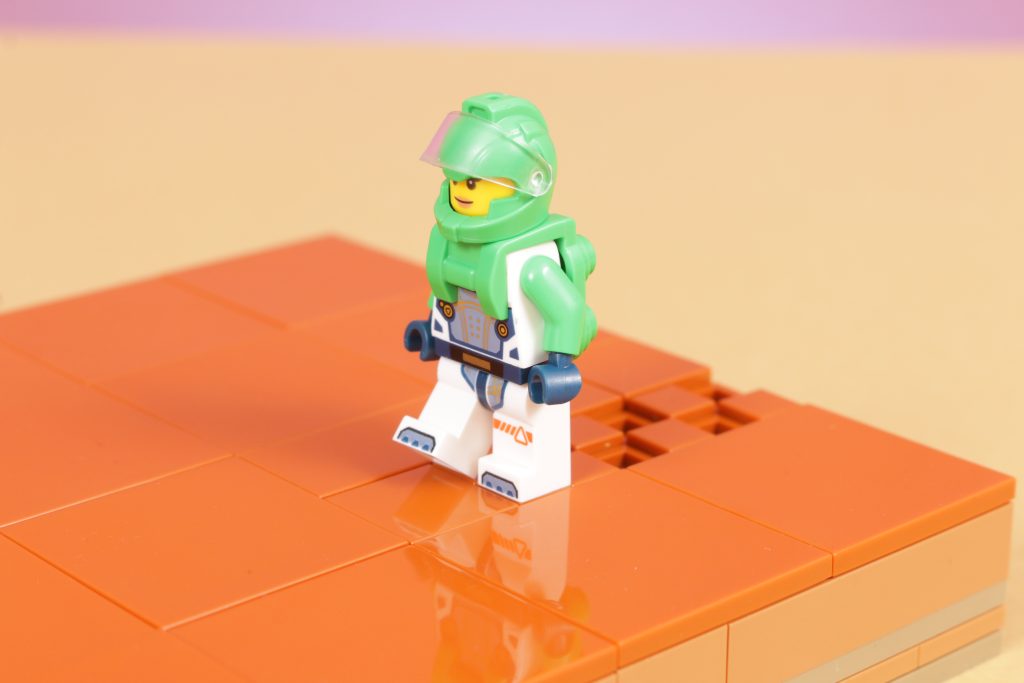
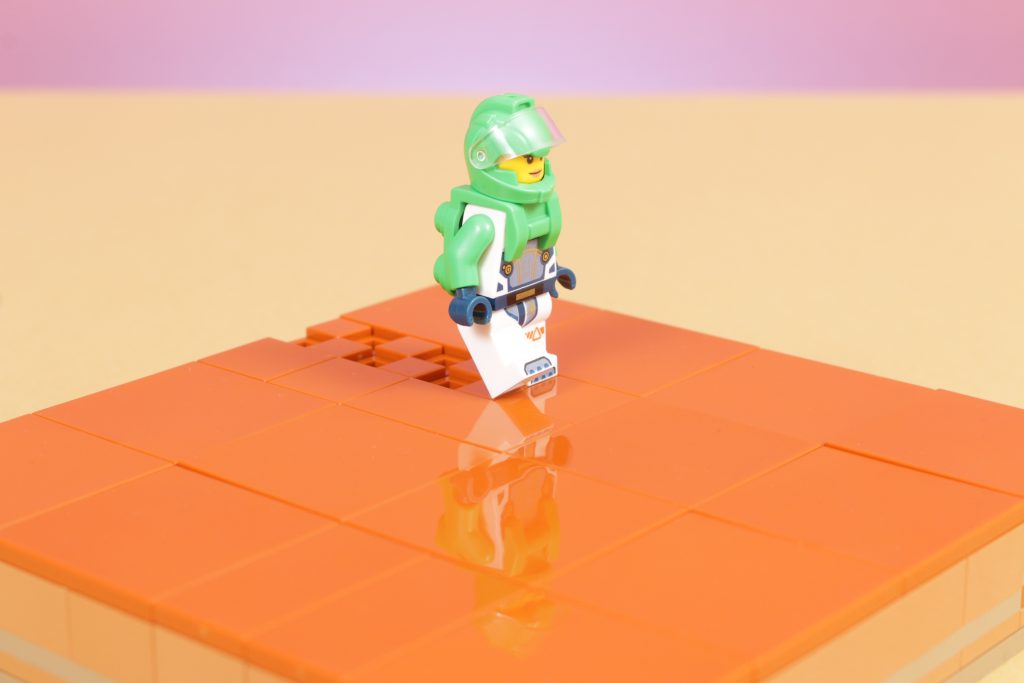
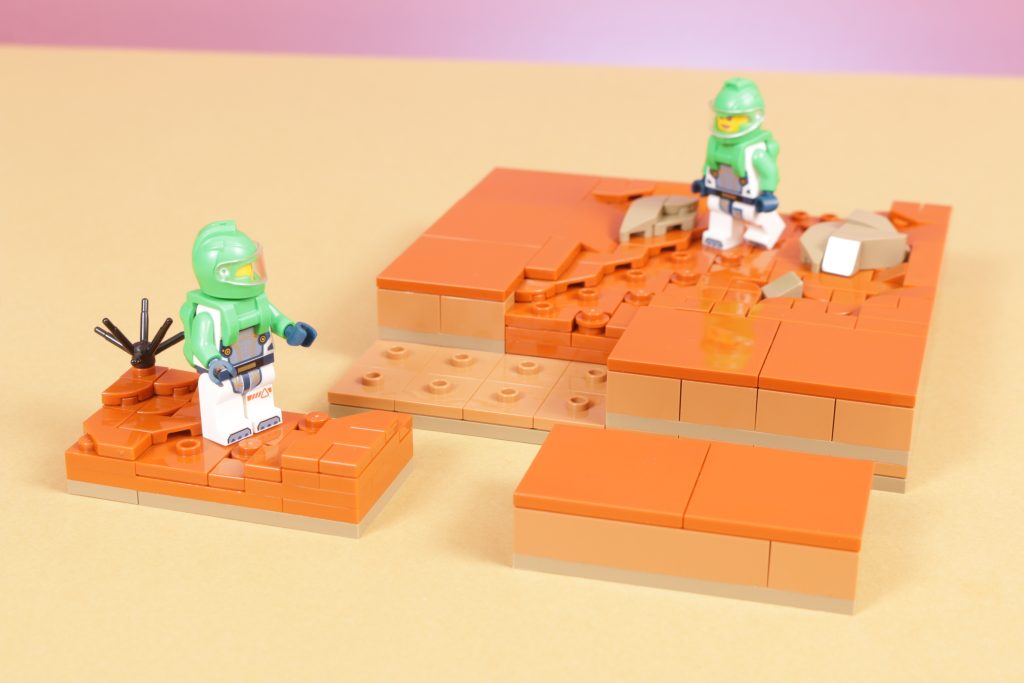
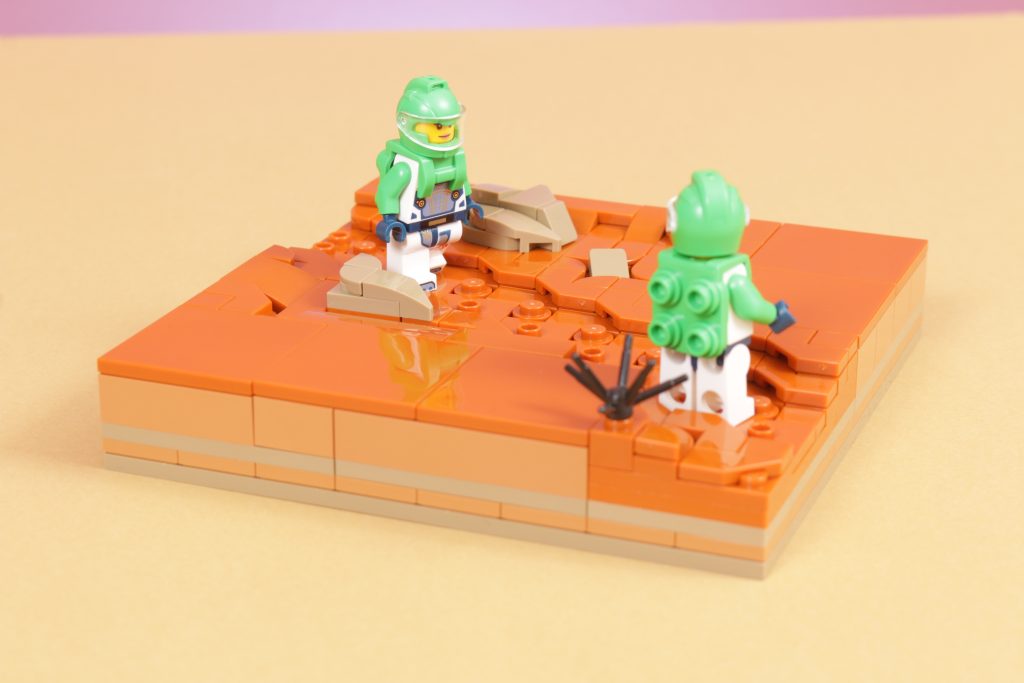
For example, let’s have one of our minifigures start to walk in a straight line across the sand. To show that, we take out a 2×6 block and replace it with a small build designed to mimic footsteps. This is achieved with the same plate-brick-tile approach for areas of ‘untouched’ sand, an anti-stud design using a 1×1 plate placed upside down on a 1×1 Technic beam to represent footsteps, and finally a brick and 1×1 plate the right way up to connect the walking minifigure on to the display.
This simple technique demonstrates not only the ease of swapping out sections for different ideas, but also the advantage to the extra height of the modular base approach compared with a traditional LEGO baseplate – here we have footsteps that are slightly sunken into the ground and the end result is both simple and effective.

Key parts
| Image | Element name | Element number | Link |
|---|---|---|---|
| BRICK 1X1 | 6254484/3005 | Add to cart | |
| PLATE 1X1 | 6186012/3024 | Add to cart | |
| BEAM 1X1 | 6170813/18654 | Add to cart |
A path to more
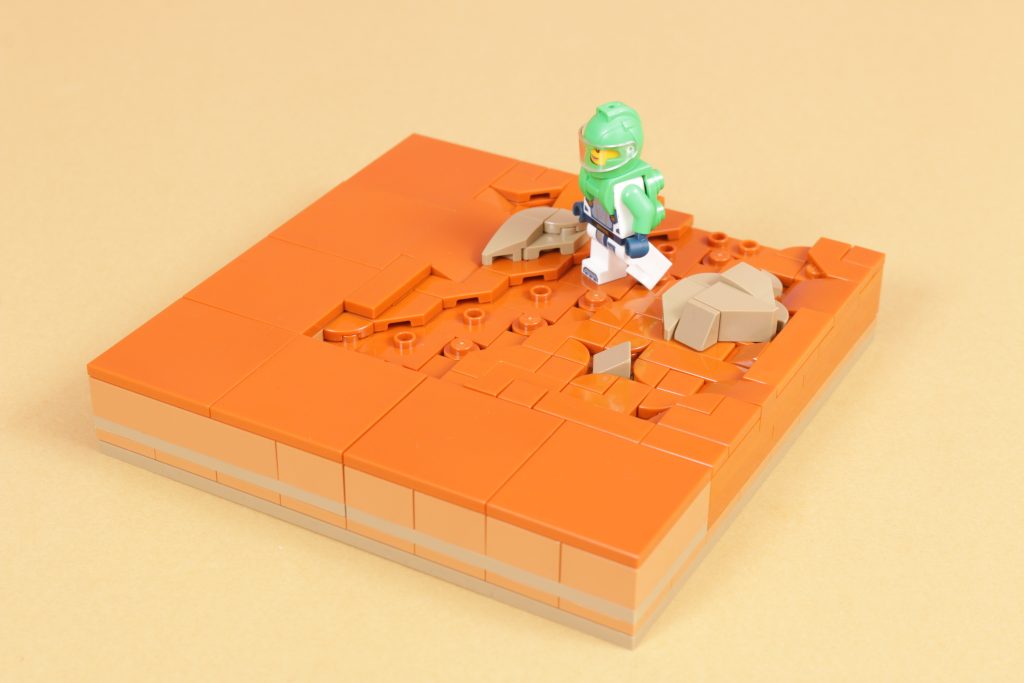
Let’s take the idea of our City Space minifigures walking across the sand a little further with a different technique that makes the consideration that they aren’t walking in a perfectly straight line and that the path they are on is perhaps a little more weathered, either by several astronauts walking along the surface, or by the climate of this alien world.
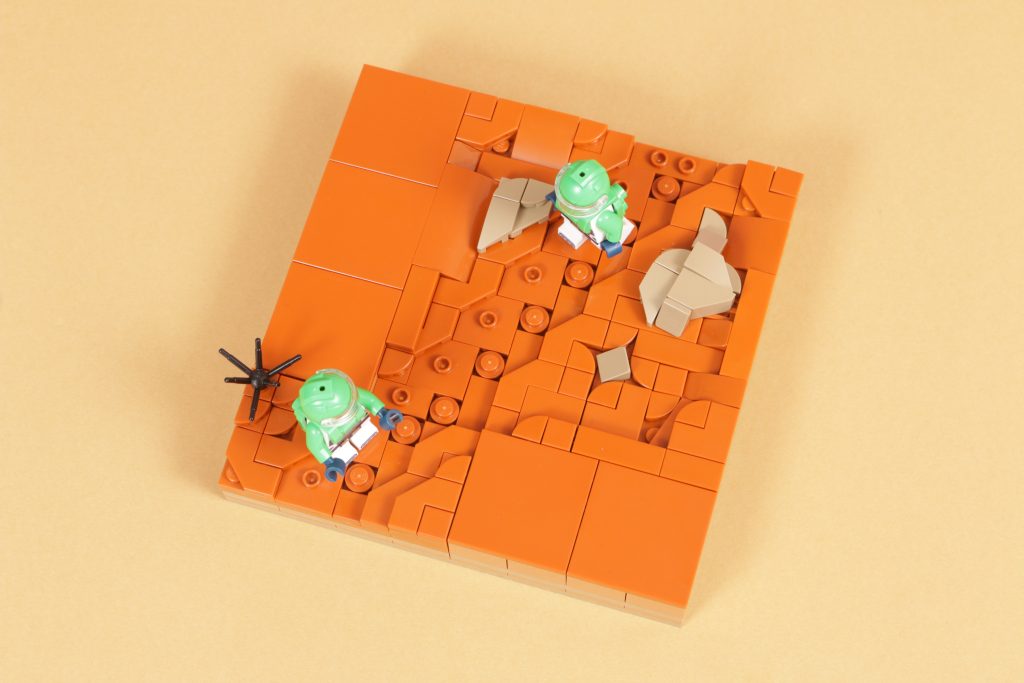
We are building this section across a 12×12 stud block of landscape and, using the plate-brick-tile guide for our ground level, we are building the pathway slightly lower, to represent its worn-down appearance. The diagonal direction of the path is achieved using a combination of plates and jumper plates framed by angled tiles either side to represent where the displaced sand now sits.
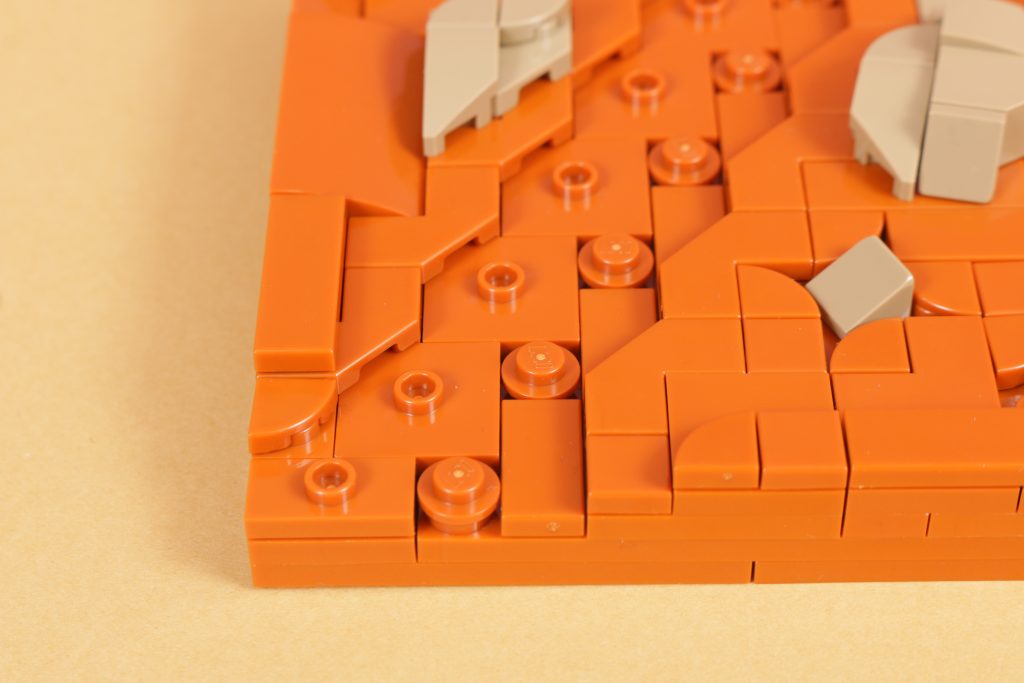
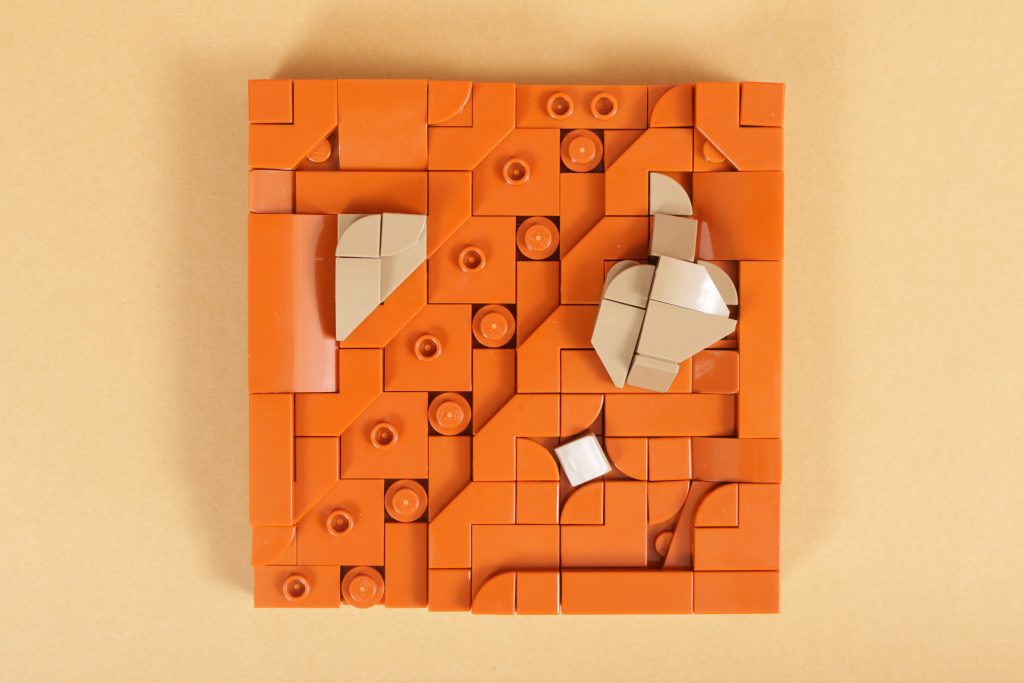
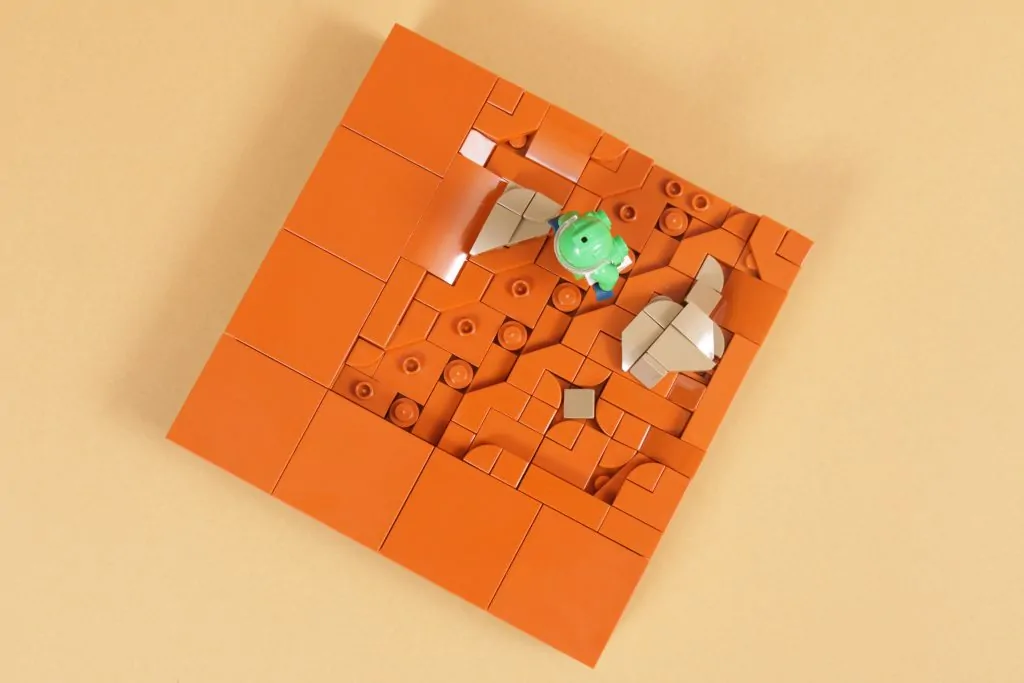
Swap out a 12×12 section of our flat base with what we’ve built, making sure to match the height of the edges of the build with the plate-brick-tile height of the base, and we have the effect of a worn-in pathway punctuated with a couple of rocks for colour on an otherwise untouched desert landscape.
Swapping out a 4×8 section of the base in the opposite corner using the same technique maps the pathway across the entire baseplate and leaves two large sections of flat surface to still play with. Leaving these as they are will represent that the astronauts are walking through effectively barren, featureless land, which is not inconceivable when considering the exploratory story that these City sets and their characters offer up.
Key parts
| Image | Element name | Element number | Link |
|---|---|---|---|
| 1/4 CIRCLE TILE 1X1 | 6228968/25269 | Add to cart | |
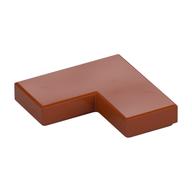
 | TILE 2X2, DEG. 90, W/ DEG. 45 CUT | 6253425/27263 | Add to cart |
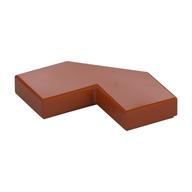
 | FLAT TILE CORNER 1X2X2 | 6341393/14719 | Add to cart |
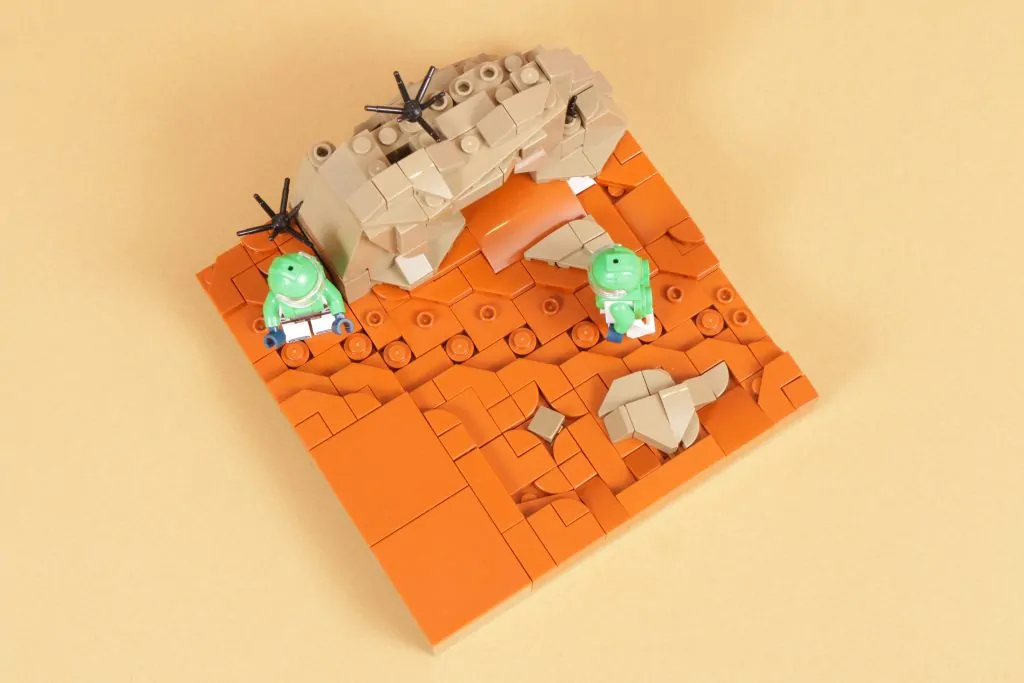
A rocky road
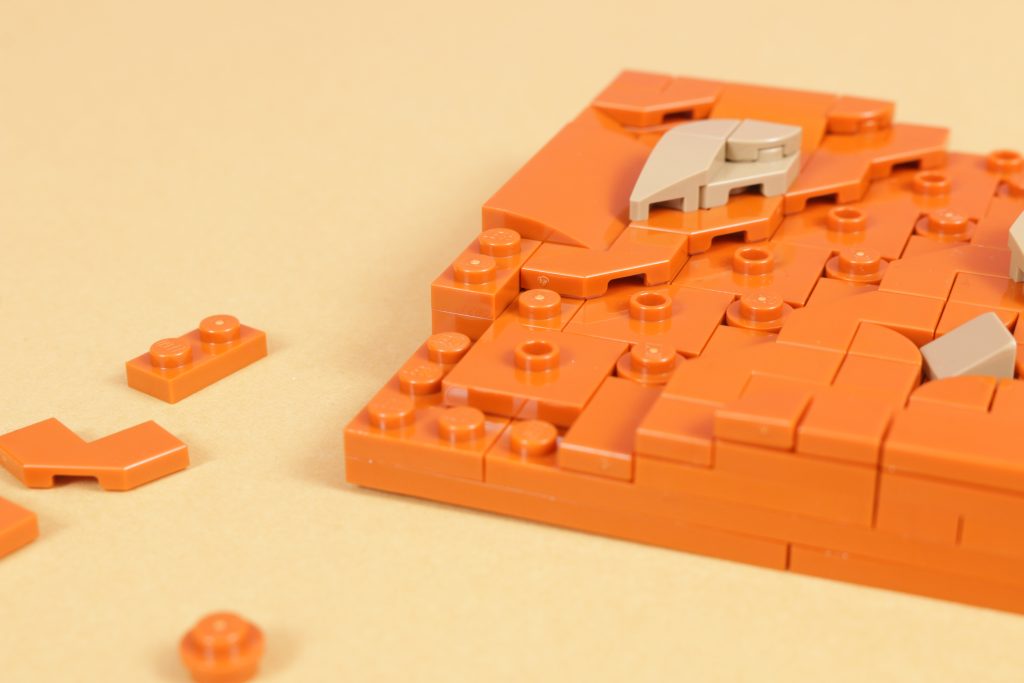
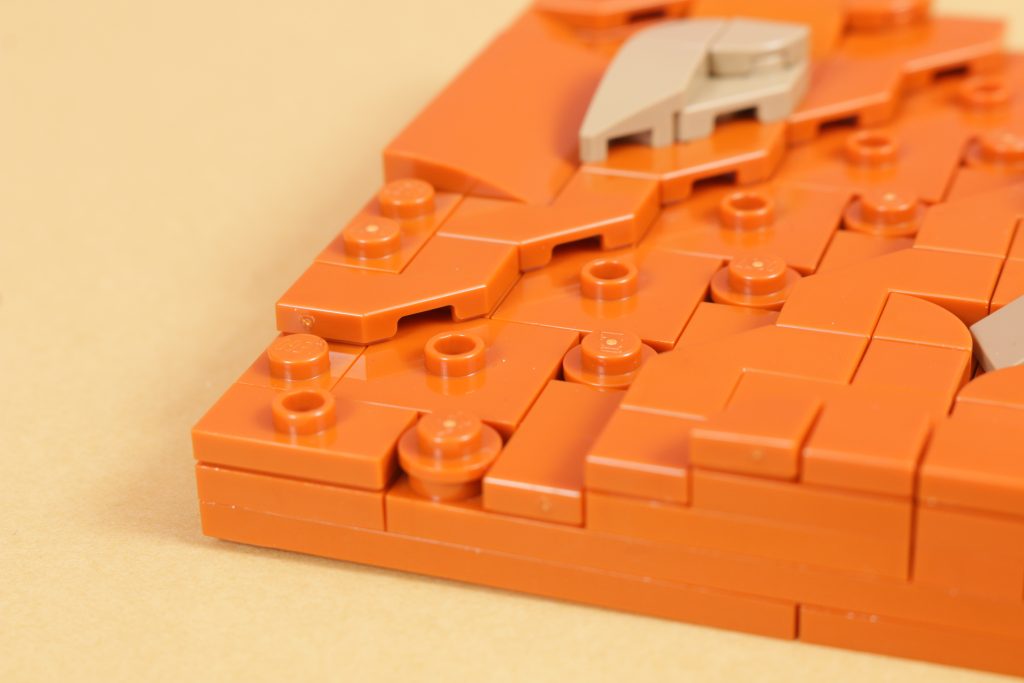
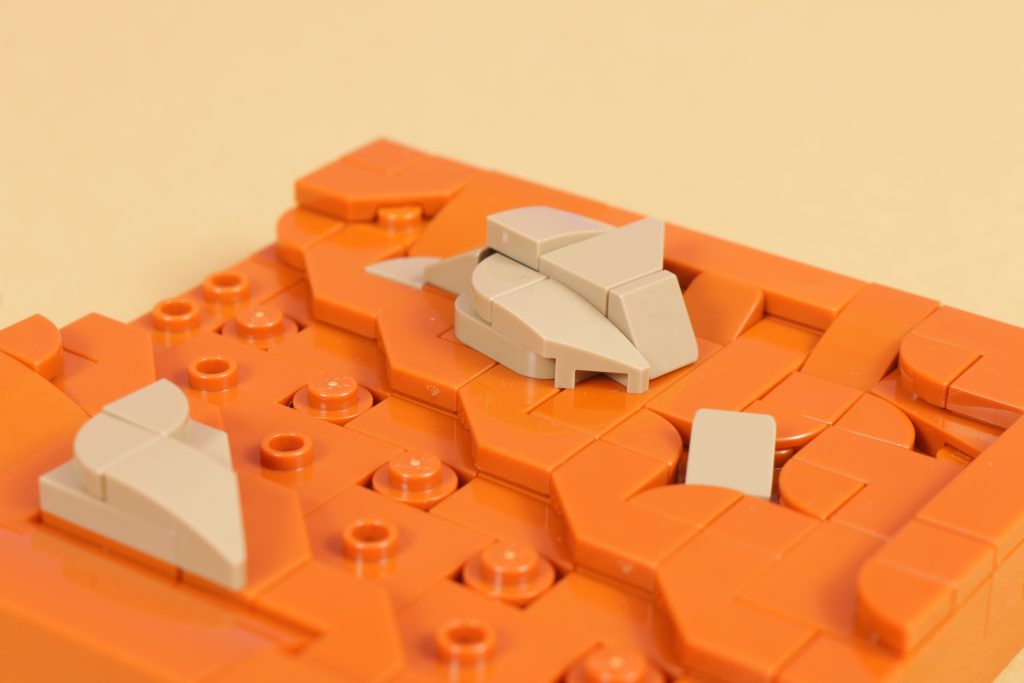
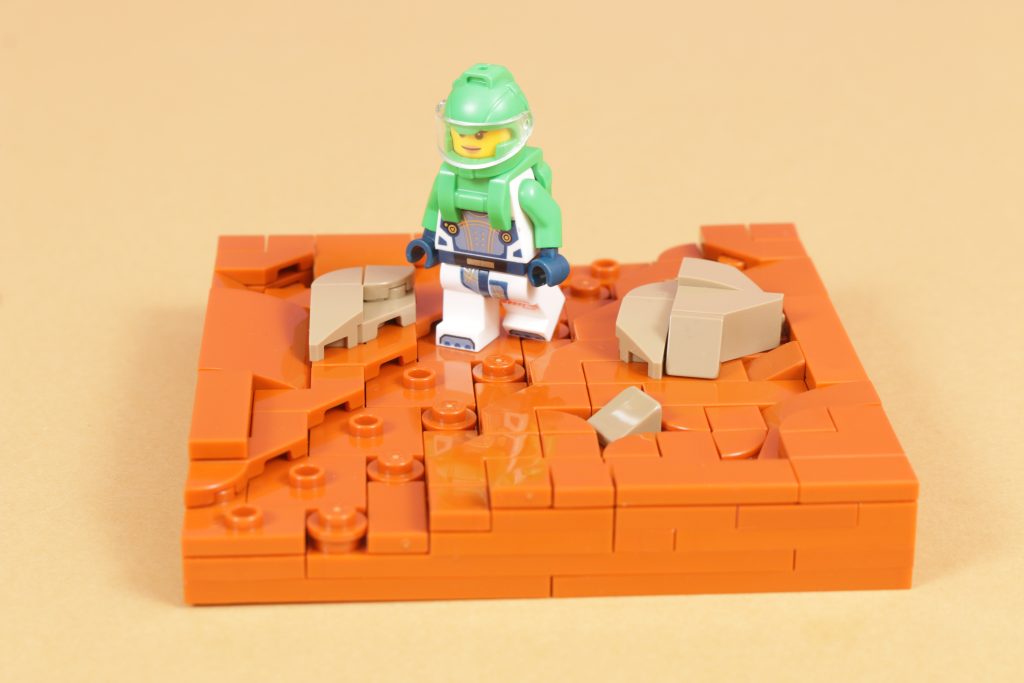
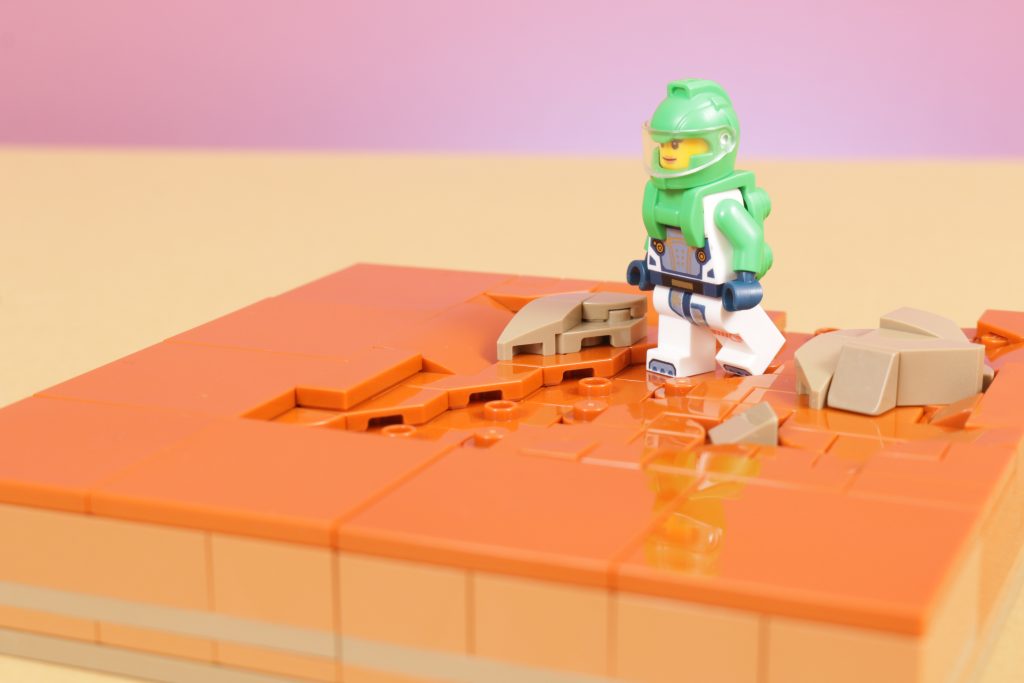
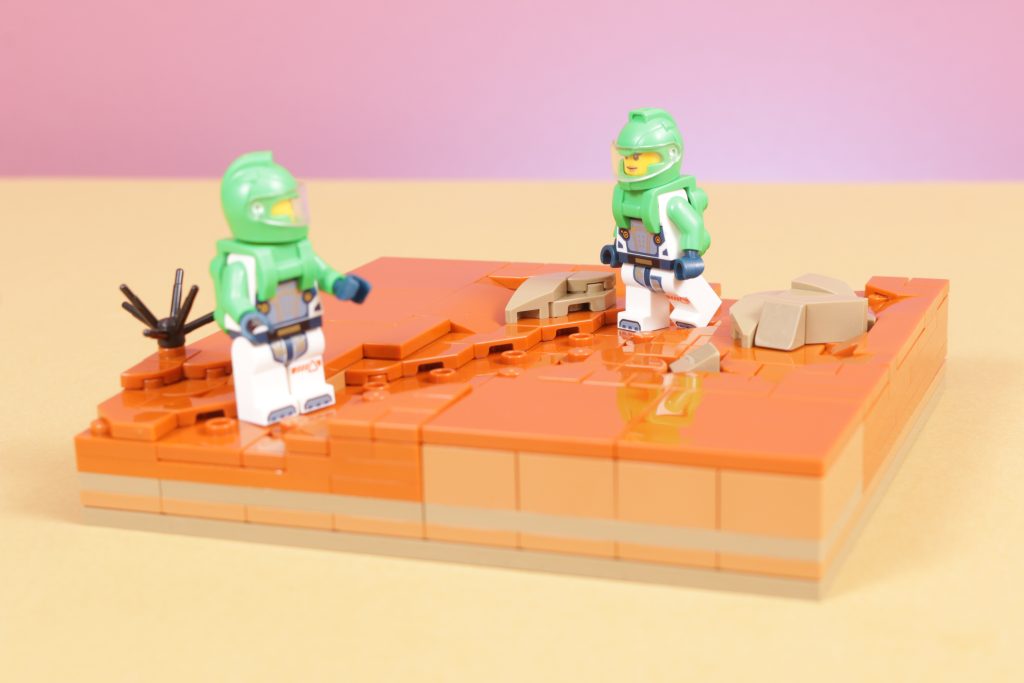
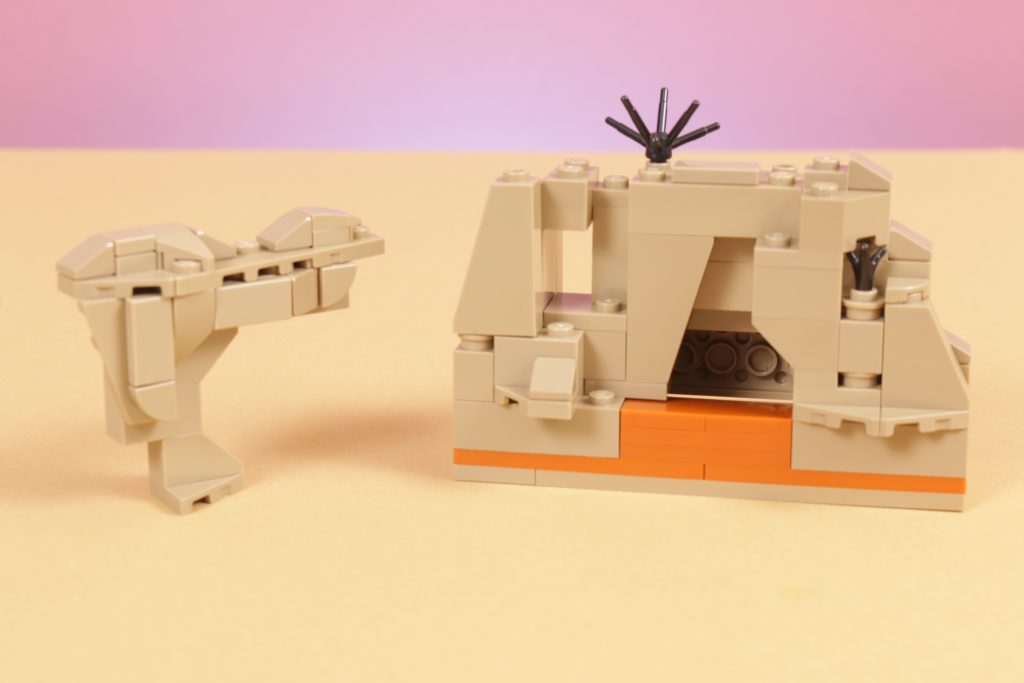
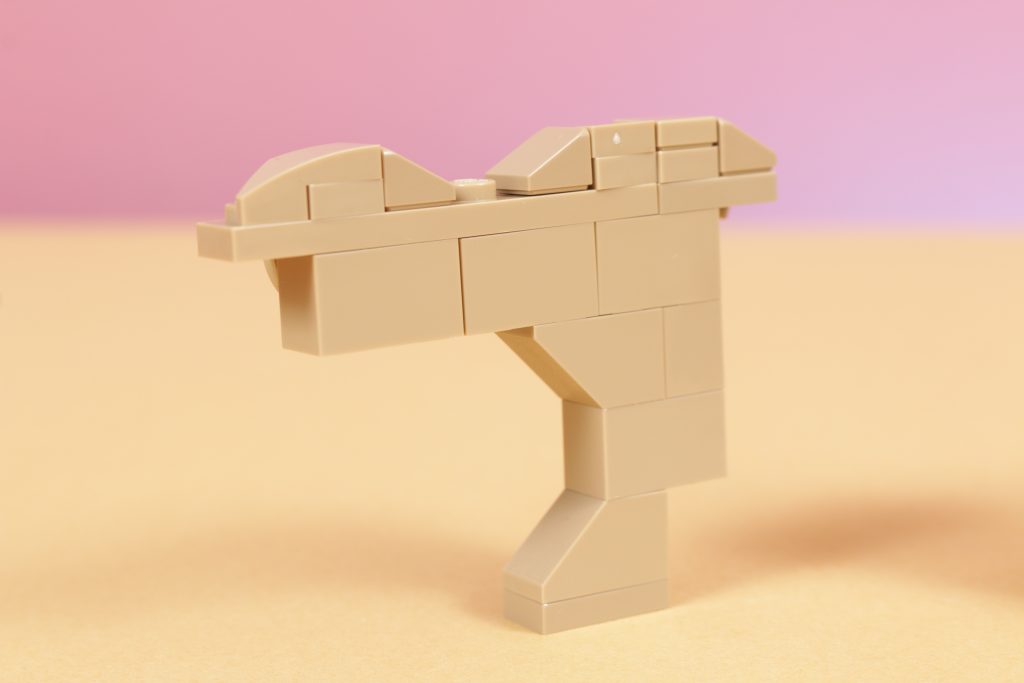
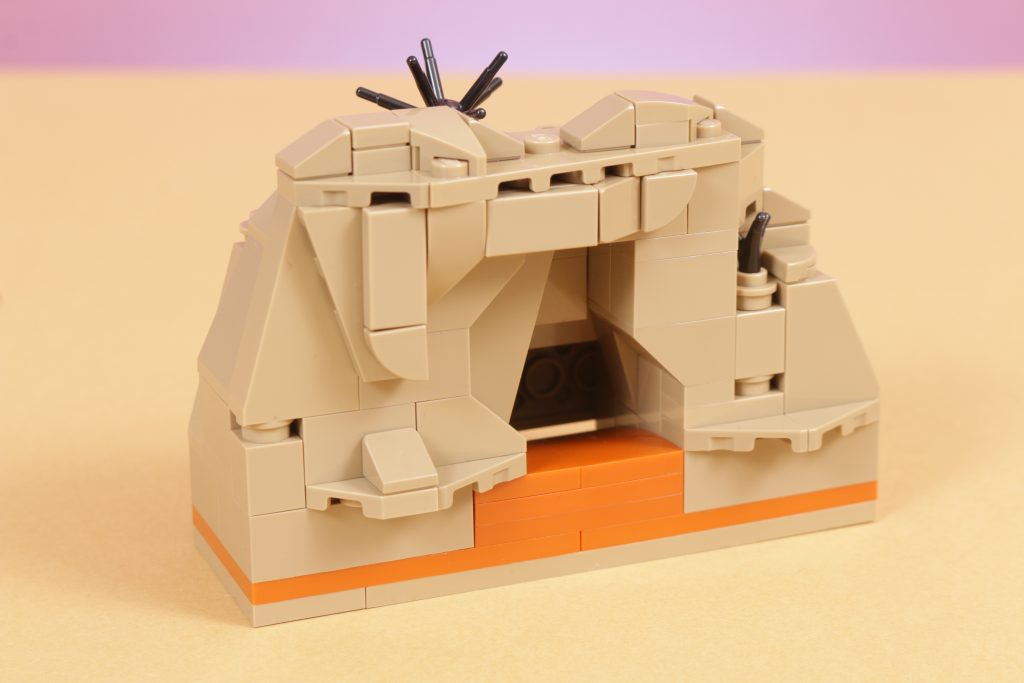
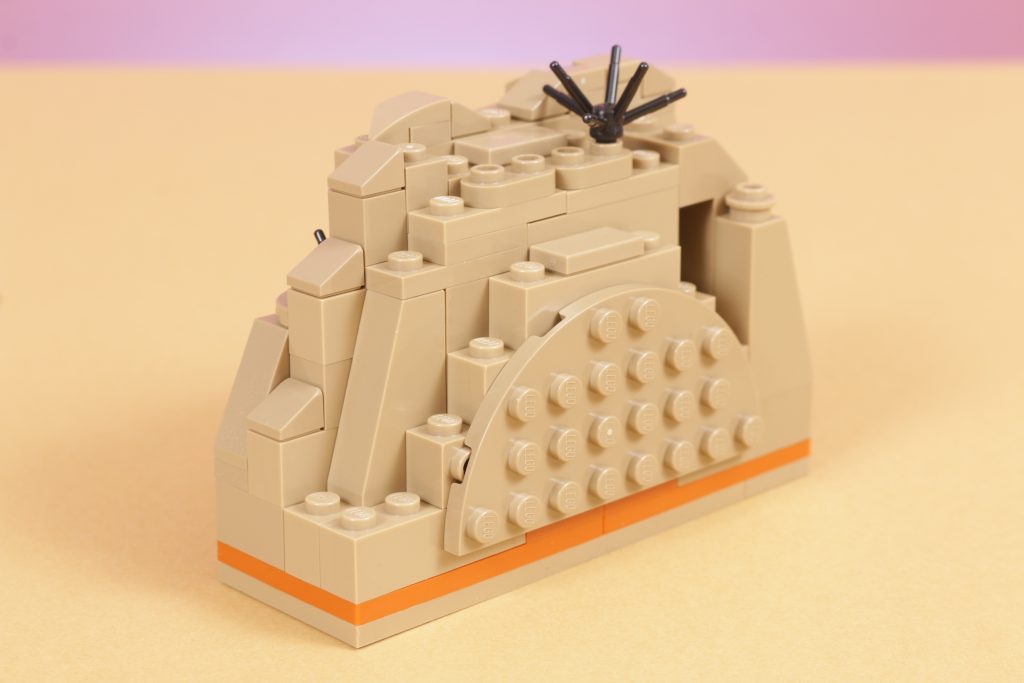
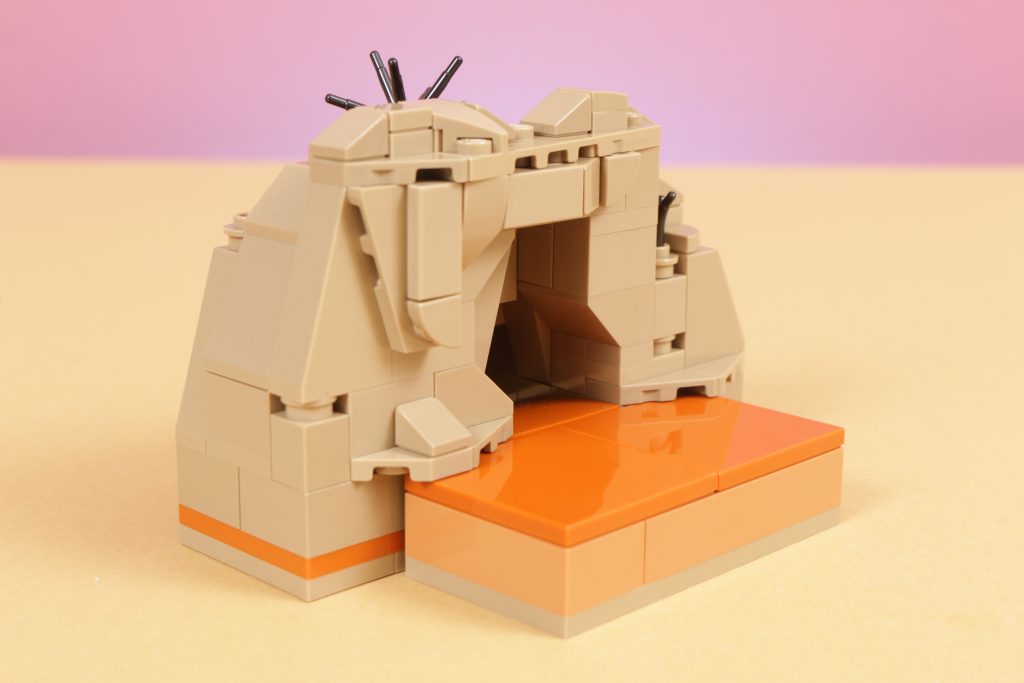
Let’s say, though, that there is a bit more to the landscape on this planet. Using a variety of plates and angled bricks we can quickly put together a bit of rocky terrain and even have the suggestion of a cave opening to it.
Again, building this to the length and width of a section of the base that we want to swap out and ensuring that the rockwork either starts at the same height as the rest of the base or any overhanging parts to it sit one plate higher will ensure that it can seamlessly integrate into the scene.
This change in one section of the base transforms the landscape further, adding character and the hint of even further story to be explored. Various slopes and wedges are the staple for any good rockwork, as is the use of angled plates and tiles attached side-on to bricks with studs on their side. Our recommendation: the bigger the rockwork, the larger the slopes. You’ll see a little of what we mean by this in part II.


Baseline fundamentals
Quite quickly we have progressed from a handful of parts putting together a simple, flat, desert-based terrain to a step-by-step run-through of a weathered pathway with the makings of some rocky landscape around it, offering up an interesting and story-relevant world for the 2024 LEGO City and LEGO Friends Space sets to begin to find life within.
And everything begins and ends with the modular baseplate we have designed. The process of swapping out sections of the base for different ideas and points of interest is straightforward and allows for an independent design process that is flexible to the limitations of budget (we can’t have all the LEGO we want immediately) and creativity (building a custom model never really stops). Meanwhile, the ability to build higher or lower than the new ground level offers potential that traditional baseplates cannot, and can add an unrivalled level of quality to what you want to build.
Most importantly, for the techniques that this approach encourages and the variety that it allows for, we feel it is a perfect match to the LEGO City Space sets and the very different ways each of those quite brilliant sets offers a new play experience in a new world.
Sticking with this modular baseplate approach for part II of this build guide, we will explore how story can impact what you build and how you build it.
Thank you to the LEGO Group for supplying the bricks used in this guide and remember that aside from sections from the official LEGO City Space sets, all the parts shown are available at LEGO.com’s Pick a Brick service at the time of writing. If you’re yet to dive into this year’s LEGO Space range, check out a few of the latest deals below.


Support the work that Brick Fanatics does by purchasing your LEGO via one of our affiliate links – thank you.
Author Profile
- As one half of Tiro Media Ltd, I mix a passion for print and digital media production with a deep love of LEGO and can often be found on these pages eulogising about LEGO Batman, digging deeper into the LEGO Group’s inner workings, or just complaining about the price of the latest LEGO Star Wars set. Make a great impression when you meet me in person by praising EXO-FORCE as the greatest LEGO theme of all time. Follow me on Twitter @RobPaton or drop me an email at [email protected].
Latest entries
 News28/08/2024LEGO Harry Potter 40695 Borgin and Burkes: Floo Network GWP review
- Harry Potter22/08/2024LEGO Harry Potter 76437 The Burrow Collectors’ Edition review
- June 2024 sets03/08/2024LEGO Harry Potter 76440 Triwizard Tournament: The Arrival review
- News01/08/2024LEGO 40712 Micro Rocket Launchpad gift-with-purchase review


I really enjoyed this article. I hope you do more of these sorts of post.
Seconded – this is a fantastic article sharing a brilliant technique that can be adapted for so many situations. Defonitely an incentive to hit up PAB!
Thank you!
wow! The “footsteps” is not something I have ever seen before. This is a beautiful article and I am hoping that this will continue. Absolutely amazing article.